


Hardware - construction manual
The arrangement looks basically like this:

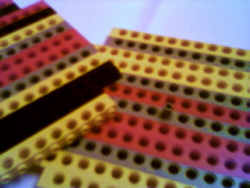
For your first tests you can build a turn table with Lego e.g.:
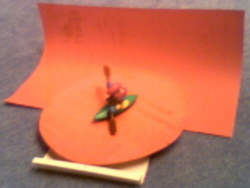
On the round cardboard on the turn table I made small markings every 30∞.
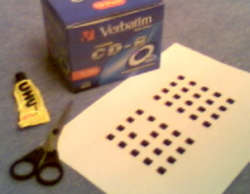
You need a calibration object, too, that can be made by yourself easily. You can print the pattern that is needed and glue it for example on a cardboard box. Wichtig ist, daþ die beiden Fl‰chen mˆglichst senkrecht zueinander stehen und daþ das Muster an der d¸nnen gestrichelten Linie abgeschnitten wird, was der unteren Kante des Objekts entspricht.
automatic turn table
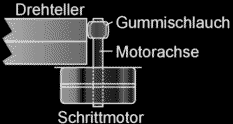
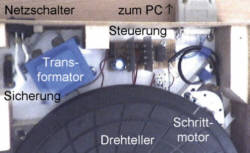
It requires a great deal of energy and it's probably not worth for private use. Anyway I show the constructed hardware. As motor a bipolar (2 coils) stepper motor is used. The turn table is rotated directly by a wheel on a lenghtening of the axis. You can see the side and top view of the opened box on the images.
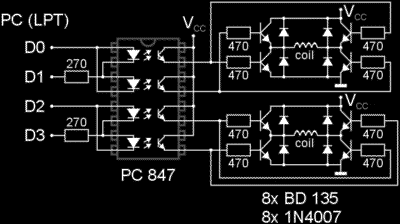
Here are the circuitries for the electronics:
power supply: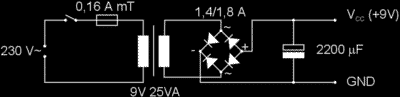
motor control:
© Marcel Lancelle 2002-2003, TU-Braunschweig, Germany